RO Membrane Cleaning Procedure 2026: Step-by-Step Guide to Restore System Performance
Introduction: Why Proper RO Membrane Cleaning Matters
Reverse osmosis membrane cleaning is the most critical maintenance procedure for maintaining optimal water treatment system performance. In 2026, industrial facilities worldwide lose an estimated $2.3 billion annually due to improper RO membrane cleaning procedures, resulting in premature membrane replacement and unplanned downtime.
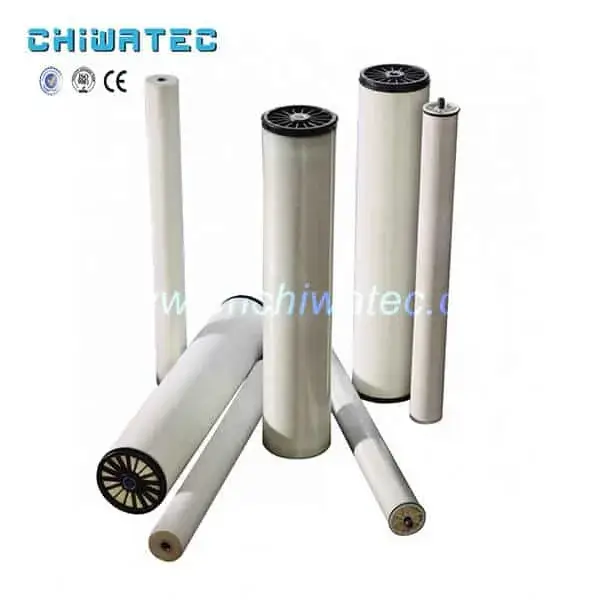
This comprehensive guide provides detailed, step-by-step instructions for cleaning reverse osmosis membrane elements across all standard configurations (4-inch, 6-inch, 8-inch, and 8.5-inch diameter pressure vessels). Following these proven protocols can restore 90-95% of original membrane performance and extend service life to 5-7 years or beyond. For complete RO water treatment systems and professional cleaning equipment, explore our product catalog.
Whether you’re maintaining municipal desalination plants, industrial pure water systems, or commercial RO water treatment facilities, proper cleaning technique reduces operational costs by 40-60% compared to reactive membrane replacement strategies.
When to Clean: Performance Indicators and Timing
Standard Cleaning Triggers
Initiate RO membrane cleaning when any of the following performance changes occur (normalized to standard conditions):
- Permeate flow decline: 10-15% reduction from baseline
- Stage differential pressure increase: 15-20% above initial operating pressure
- Salt passage increase: 10-15% decline in salt rejection
- Normalized pressure increase: Feed pressure required to maintain production rate increases significantly
Industry Best Practices 2026
Modern reverse osmosis systems typically require cleaning 2-4 times per year with proper pretreatment. Key timing considerations:
- Proactive vs. Reactive: Schedule cleaning based on performance trending rather than waiting for severe fouling
- Seasonal factors: Increased biological activity in summer may require more frequent cleaning
- Feedwater quality changes: Adjust cleaning frequency based on seasonal water quality variations
- Documentation: Maintain detailed cleaning logs to optimize future intervals
Pre-Cleaning Preparation: Essential Steps
Step 1: System Flushing (Pre-Rinse)
Before introducing any cleaning chemicals, perform thorough pre-flushing to remove loose particulate matter and concentrate stream residuals:
- Water source: Use clean, free chlorine-free reverse osmosis product water (permeate) from the cleaning tank or dedicated source
- Flushing duration: 5-10 minutes minimum
- Flow direction: Feed direction (same as normal operation)
- Discharge: Drain to waste – do not recirculate flush water
- Pressure: Low pressure (≤ 4 bar / 60 psi) to avoid compacting fouling layers
⚠️ Critical: Verify zero free chlorine in flush water through laboratory testing or online ORP monitor (ORP < +200 mV). Chlorine exposure causes irreversible membrane damage.
Step 2: Cleaning Solution Preparation
Prepare cleaning solution in dedicated clean tank using RO product water:
Solution Volume Calculation
| Pressure Vessel Size | Solution Volume per Vessel | Minimum Total Volume |
|---|---|---|
| 8-inch / 8.5-inch | 40-50 gallons (150-190 L) | Based on system configuration |
| 6-inch | 15-20 gallons (57-76 L) | Based on system configuration |
| 4-inch | 8-10 gallons (30-38 L) | Based on system configuration |
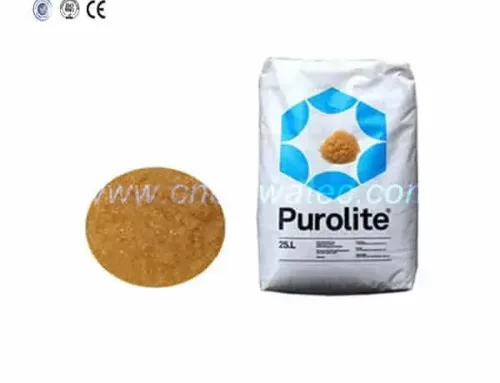
Chemical Dosing Guidelines
- Acid cleaners (RT-818A): 2% by weight (20g per liter)
- Alkaline cleaners (RT-818B/C): 2% by weight (20g per liter)
- pH adjustment: Use sulfuric acid or sodium hydroxide as needed
- Temperature: Heat to 30-35°C (maximum 40°C)
- Mixing: Circulate cleaning tank for 15 minutes to ensure homogeneity
Water quality requirement: Use only chlorine-free RO product water for solution preparation. Never use feed water or tap water containing contaminants.
RO Membrane Cleaning Procedure: Detailed Steps
Step 3: Cleaning Solution Circulation
Circulate cleaning solution through pressure vessels using dedicated cleaning pump:
Flow Rate Specifications by Vessel Diameter
| Pressure Vessel Diameter | Flow Rate (GPM) | Flow Rate (L/min) |
|---|---|---|
| 8-inch / 8.5-inch | 35-40 GPM | 133-151 L/min |
| 6-inch | 15-20 GPM | 57-76 L/min |
| 4-inch | 9-10 GPM | 34-38 L/min |
Circulation Parameters
- Duration: 60 minutes minimum (or preset time based on contamination severity)
- Pressure: Low pressure (4-6 bar / 60-90 psi) – sufficient to overcome system resistance only
- Temperature maintenance: Monitor and maintain 30-35°C throughout circulation
- Flow direction: Feed direction (same as normal operation)
- Return: Cleaning solution returns to cleaning tank for recirculation
⚠️ Important: Do not exceed maximum pressure ratings for membrane elements. High pressure during cleaning can force contaminants deeper into membrane structure.
Step 4: Cleaning Tank Drain and Rinse
After circulation cycle completes:
- Drain cleaning tank: Dispose of used cleaning solution according to local environmental regulations
- Neutralize if required: Adjust pH to 6.0-9.0 range before discharge
- Rinse tank: Thoroughly rinse cleaning tank with RO product water to remove chemical residuals
- Refill: Fill cleaning tank with fresh, clean RO product water for next flush cycle
Environmental compliance: Cleaning effluent may contain concentrated contaminants. Follow local regulations for chemical disposal and consider zero liquid discharge (ZLD) systems for sensitive environments.
Step 5: Post-Cleaning Flush
Remove cleaning chemical residuals from membrane elements and system piping:
- Water source: Use clean, chlorine-free RO product water from refreshed cleaning tank
- Flow rate: Same as circulation flow rate for vessel diameter
- Duration: 10-15 minutes minimum
- Discharge: Drain to waste – do not recirculate
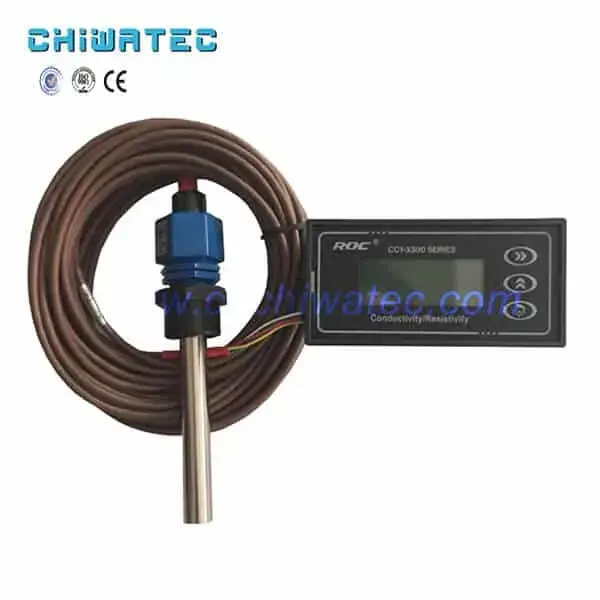
- Monitoring: Check flush water pH and conductivity until approaching feed water baseline
Flush completion criteria:
- pH within 0.5 units of feed water pH
- Conductivity within 10% of feed water conductivity
- No visible foam or discoloration in discharge
Step 6: System Restart and Product Water Discharge
Return reverse osmosis system to normal operation with product water discharge:
- Close drain valve: Return system to normal production configuration
- Open product discharge valve: Direct initial product water to drain (not to product tank)
- Run time: 15-30 minutes minimum
- Discharge criteria: Continue until product water is:
- Clear (no discoloration)
- No foam present
- No cleaning agent odor detectable
- Conductivity meets product water specifications
- Return to service: Once discharge criteria met, redirect product water to storage tank
⚠️ Critical: Do not send initial post-cleaning product water to storage or process. Residual cleaning chemicals can contaminate product water and damage downstream equipment.
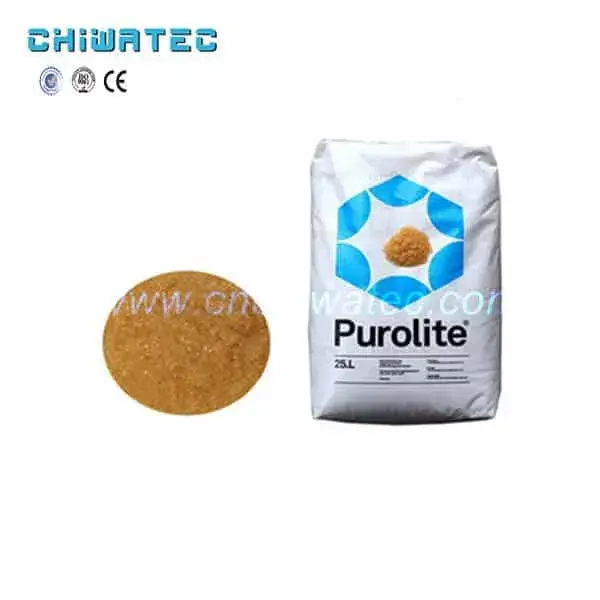
Cleaning Solution Selection Guide
Contaminant-Based Cleaner Selection
| Contaminant Type | Recommended Cleaner | pH Range | Temperature |
|---|---|---|---|
| Calcium carbonate, metal oxides | RT-818A (Acidic) | 2.0-3.5 | 30-35°C |
| Calcium sulfate, silica scale | RT-818B (Alkaline) | 10.5-11.0 | 30-35°C |
| Organic fouling, biofilm | RT-818C (Alkaline + Surfactant) | 11.5-12.0 | 35-40°C |
Two-Stage Cleaning Protocol
For severely fouled membranes, implement sequential cleaning:
- First stage: Alkaline cleaner (RT-818C) to remove organic matter and biofilm
- Intermediate flush: Thorough rinse between cleaning stages
- Second stage: Acidic cleaner (RT-818A) to dissolve inorganic scale
Rationale: Organic fouling often masks underlying inorganic scale. Removing organics first allows acid cleaner to directly contact mineral deposits.
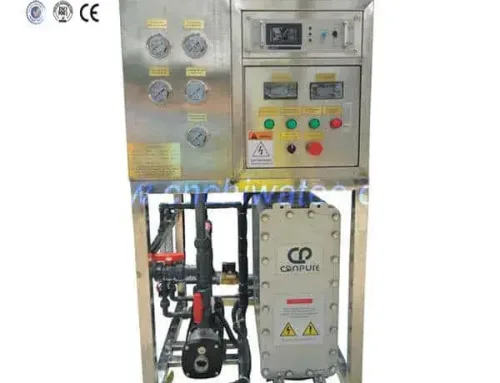
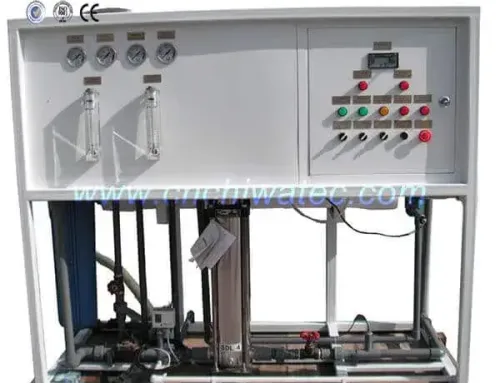
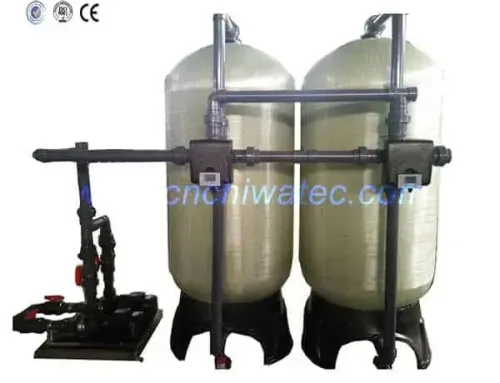
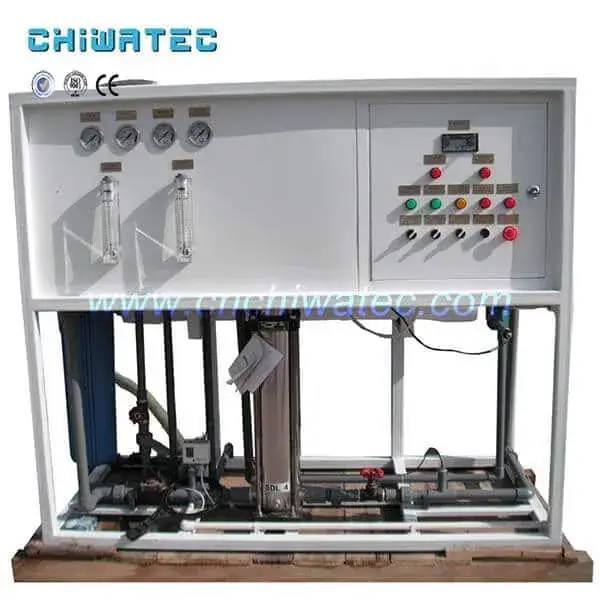
Equipment Requirements for RO Membrane Cleaning
Essential Cleaning Skid Components
- Cleaning solution tank: Polyethylene or stainless steel 316L, sized for system volume
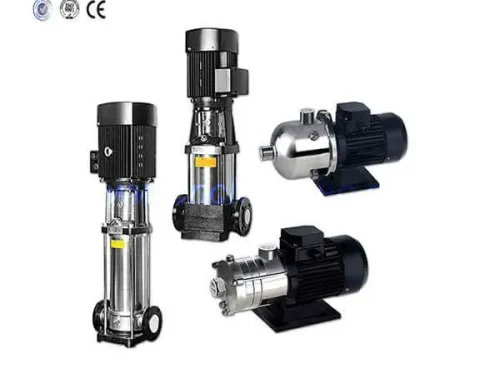
- Circulation pump: Low-pressure, high-flow centrifugal pump (materials compatible with cleaning chemicals)
- Cartridge filter housing: 5-10 micron filter to capture removed contaminants
- Flow meter: For monitoring and adjusting circulation flow rate
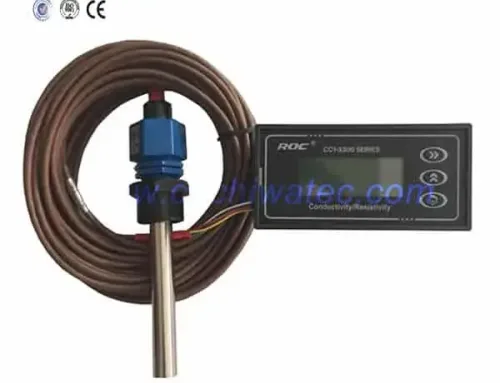
- pH meter: For monitoring cleaning solution pH throughout process
- Conductivity meter: For monitoring rinse completion
- Temperature gauge: For monitoring and maintaining solution temperature
- Heating system: Immersion heater or heat exchanger for temperature control
Safety Equipment
- Chemical-resistant gloves (nitrile or neoprene)
- Safety goggles or face shield
- Chemical-resistant apron or suit
- Eyewash station and safety shower (nearby)
- Adequate ventilation in cleaning area
- MSDS/SDS documentation for all cleaning chemicals
Performance Monitoring and Documentation
Essential Cleaning Records
Maintain comprehensive documentation for each cleaning event:
- Date and time: Start and completion times
- Cleaning agent: Type, concentration, batch number, supplier
- Solution parameters: Initial and final pH, temperature profile
- Flow rates: Circulation flow rate for each stage
- Duration: Circulation time, soaking time, flush time
- Visual observations: Solution color change, particulate matter, odor
- Pre-cleaning performance: Normalized flow, pressure, salt rejection
- Post-cleaning performance: Same parameters for comparison
- Performance restoration: Percentage improvement achieved
Performance Trending
Use historical cleaning data to optimize future cleaning strategies:
- Track cleaning frequency trends (increasing frequency may indicate pretreatment issues)
- Monitor performance restoration efficiency (declining restoration may indicate membrane aging)
- Correlate cleaning effectiveness with feedwater quality changes
- Identify seasonal patterns for proactive scheduling
Common Mistakes to Avoid
Critical Errors in RO Membrane Cleaning
- Using contaminated water: Never use feed water or tap water for cleaning solution preparation
- Chlorine exposure: Failing to verify zero free chlorine before membrane contact
- Incorrect pH: Operating outside 2.0-12.0 pH range risks membrane damage
- Excessive temperature: Temperatures above 40°C can damage membrane materials
- High pressure: Pressures above 6 bar during cleaning force contaminants deeper
- Insufficient rinsing: Inadequate post-cleaning flush leaves chemical residuals
- Wrong cleaner selection: Using acid cleaner for organic fouling (or vice versa)
- Premature restart: Returning to service before discharge criteria met
Advanced Cleaning Techniques 2026
Soak-and-Circulate Method
For severe fouling, implement extended soaking periods:
- Circulate cleaning solution for 30 minutes
- Stop circulation and allow membrane elements to soak for 2-8 hours (or overnight)
- Resume circulation for 30 minutes
- Monitor pH – if pH shifts >0.5 units, prepare fresh cleaning solution
- Proceed to flush cycle
Benefit: Extended contact time enhances chemical penetration and contaminant dissolution.
Low-pH High-pH Sequential Cleaning
For complex contamination profiles:
- Start with low-pH cleaner (pH 2.5-3.0) for metal oxide removal
- Thorough intermediate rinse until neutral pH
- Follow with high-pH cleaner (pH 11.5-12.0) for organic matter and biofilm
- Final rinse and system restart
This approach addresses both inorganic and organic contaminants in a single cleaning session.
Conclusion: Maximizing RO System Performance Through Proper Cleaning
Proper RO membrane cleaning procedure is the cornerstone of cost-effective water treatment system operation. By following these six essential steps – pre-flushing, solution preparation, circulation, tank rinse, post-flush, and system restart – operators can consistently restore 90-95% of original membrane performance while extending service life to 5-7 years or beyond.
The key to successful cleaning lies in understanding contamination types, selecting appropriate cleaning chemicals, maintaining proper parameters (pH, temperature, flow rate), and thorough documentation for continuous improvement. For professional water treatment solutions including membrane elements, cleaning systems, and technical support, explore our comprehensive product range. Additionally, review our related guide on RO membrane pollutants and removal methods for complete contamination management.
Remember: prevention through optimized pretreatment remains the most cost-effective strategy, but when fouling occurs, timely and appropriate cleaning intervention minimizes downtime and protects your membrane investment. For complex contamination scenarios or warranty-protected installations, always consult with membrane manufacturers or qualified service professionals.
Frequently Asked Questions (FAQ)
1. How long does the complete RO membrane cleaning process take?
A complete RO membrane cleaning cycle typically requires 3-5 hours total:
- Pre-flush: 10-15 minutes
- Solution preparation and heating: 30-45 minutes
- Cleaning circulation: 60 minutes
- Tank rinse and refill: 15-20 minutes
- Post-cleaning flush: 15-20 minutes
- System restart and product discharge: 15-30 minutes
For severe fouling requiring extended soaking or two-stage cleaning, total time may extend to 8-12 hours or overnight. Plan cleaning activities during scheduled maintenance windows to minimize production impact.
2. What is the optimal flow rate for cleaning different RO membrane sizes?
RO membrane cleaning flow rates vary by pressure vessel diameter:
- 8-inch / 8.5-inch vessels: 35-40 GPM (133-151 L/min)
- 6-inch vessels: 15-20 GPM (57-76 L/min)
- 4-inch vessels: 9-10 GPM (34-38 L/min)
These flow rates provide sufficient turbulence for effective cleaning while avoiding excessive pressure drop across membrane elements. Always verify flow rate with calibrated flow meter during cleaning operations.
3. Can I clean RO membranes in place or must they be removed?
RO membrane elements are designed for cleaning in place (CIP) without removal from pressure vessels. In-place cleaning is the standard industry practice because:
- Minimizes handling damage risk to membrane elements
- Reduces labor time and cost
- Maintains proper element alignment and interconnector seals
- Avoids reintroduction of contaminants during reinstallation
Membrane removal is only necessary for autopsy analysis, replacement, or when pressure vessels require maintenance.
4. How do I know if RO membrane cleaning was successful?
Successful RO membrane cleaning is confirmed by performance restoration:
- Permeate flow: Restoration to within 5-10% of original baseline
- Differential pressure: Reduction to within 10-15% of initial operating pressure
- Salt rejection: Return to design specifications (typically 98-99.5%)
- Product quality: Conductivity meets system design requirements
If cleaning fails to restore at least 80% of baseline performance after 2-3 attempts, membrane replacement may be more cost-effective than continued cleaning efforts.
5. What safety precautions are required during RO membrane cleaning?
Critical safety precautions for RO membrane cleaning:
- Wear appropriate PPE: chemical-resistant gloves, goggles, apron, and closed-toe shoes
- Ensure adequate ventilation in cleaning area (chemical fumes can accumulate)
- Have eyewash station and safety shower accessible within 10 seconds
- Review SDS/MSDS for all cleaning chemicals before use
- Never mix different cleaning chemicals (risk of hazardous reactions)
- Label all cleaning solution containers clearly
- Dispose of cleaning effluent according to local environmental regulations
- Keep unauthorized personnel away from cleaning area during operations
Do you have a water treatment project we can help with
* Designing,machining,installing,commissioning, customize and one-stop service